Contact Lifecycle
Understand lifecycle stages in Replyn and how contacts move through your pipeline from Lead to Customer.
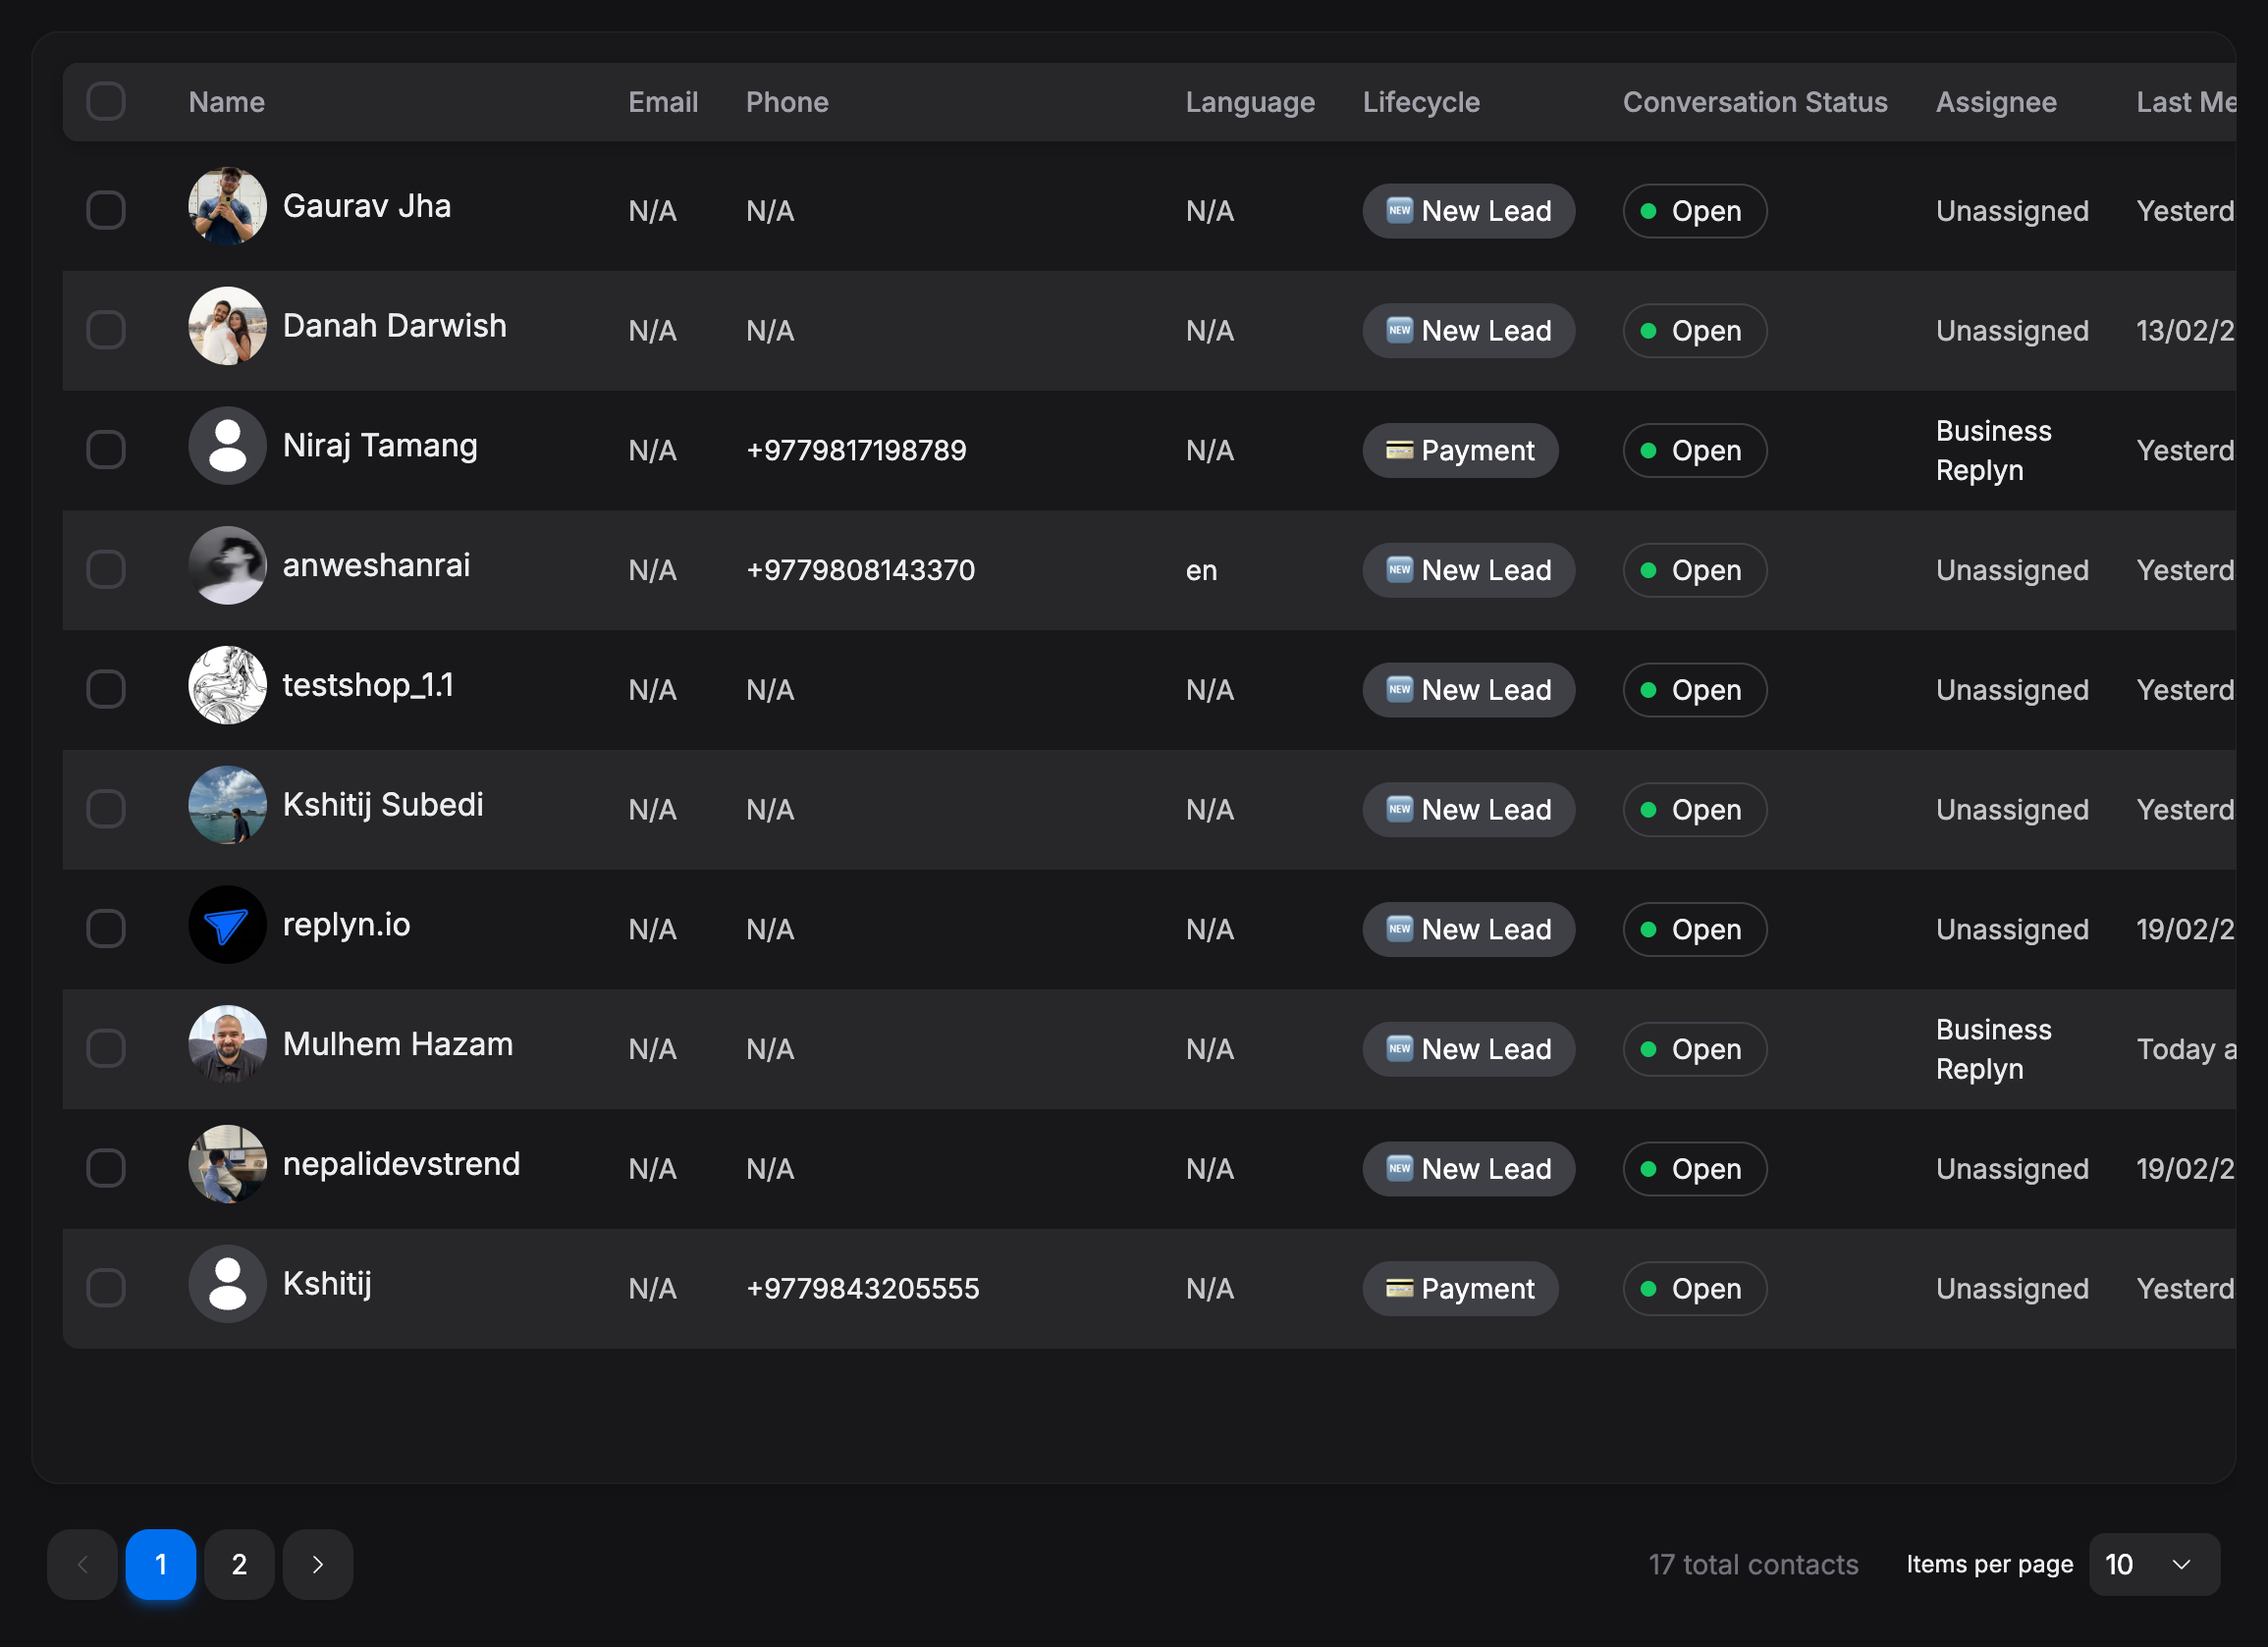
Every contact in Replyn has a lifecycle stage that represents where they are in your business relationship. Lifecycle stages help you track your pipeline, trigger automations, and segment contacts for targeted outreach.
Default Lifecycle Stages
Replyn comes with three default stages:
| Stage | Description |
|---|---|
| Lead | A new or prospective contact who has not yet become a customer. This is the default stage for contacts created from incoming messages. |
| Customer | A contact who has completed a purchase, booked an appointment, or otherwise converted. |
| Lost | A contact who is no longer actively engaged or who you have decided not to pursue. |
Moving Contacts Between Stages
You can change a contact's lifecycle stage in several ways:
Open the contact's detail panel and click the Lifecycle Stage dropdown. Select the new stage and click Save.
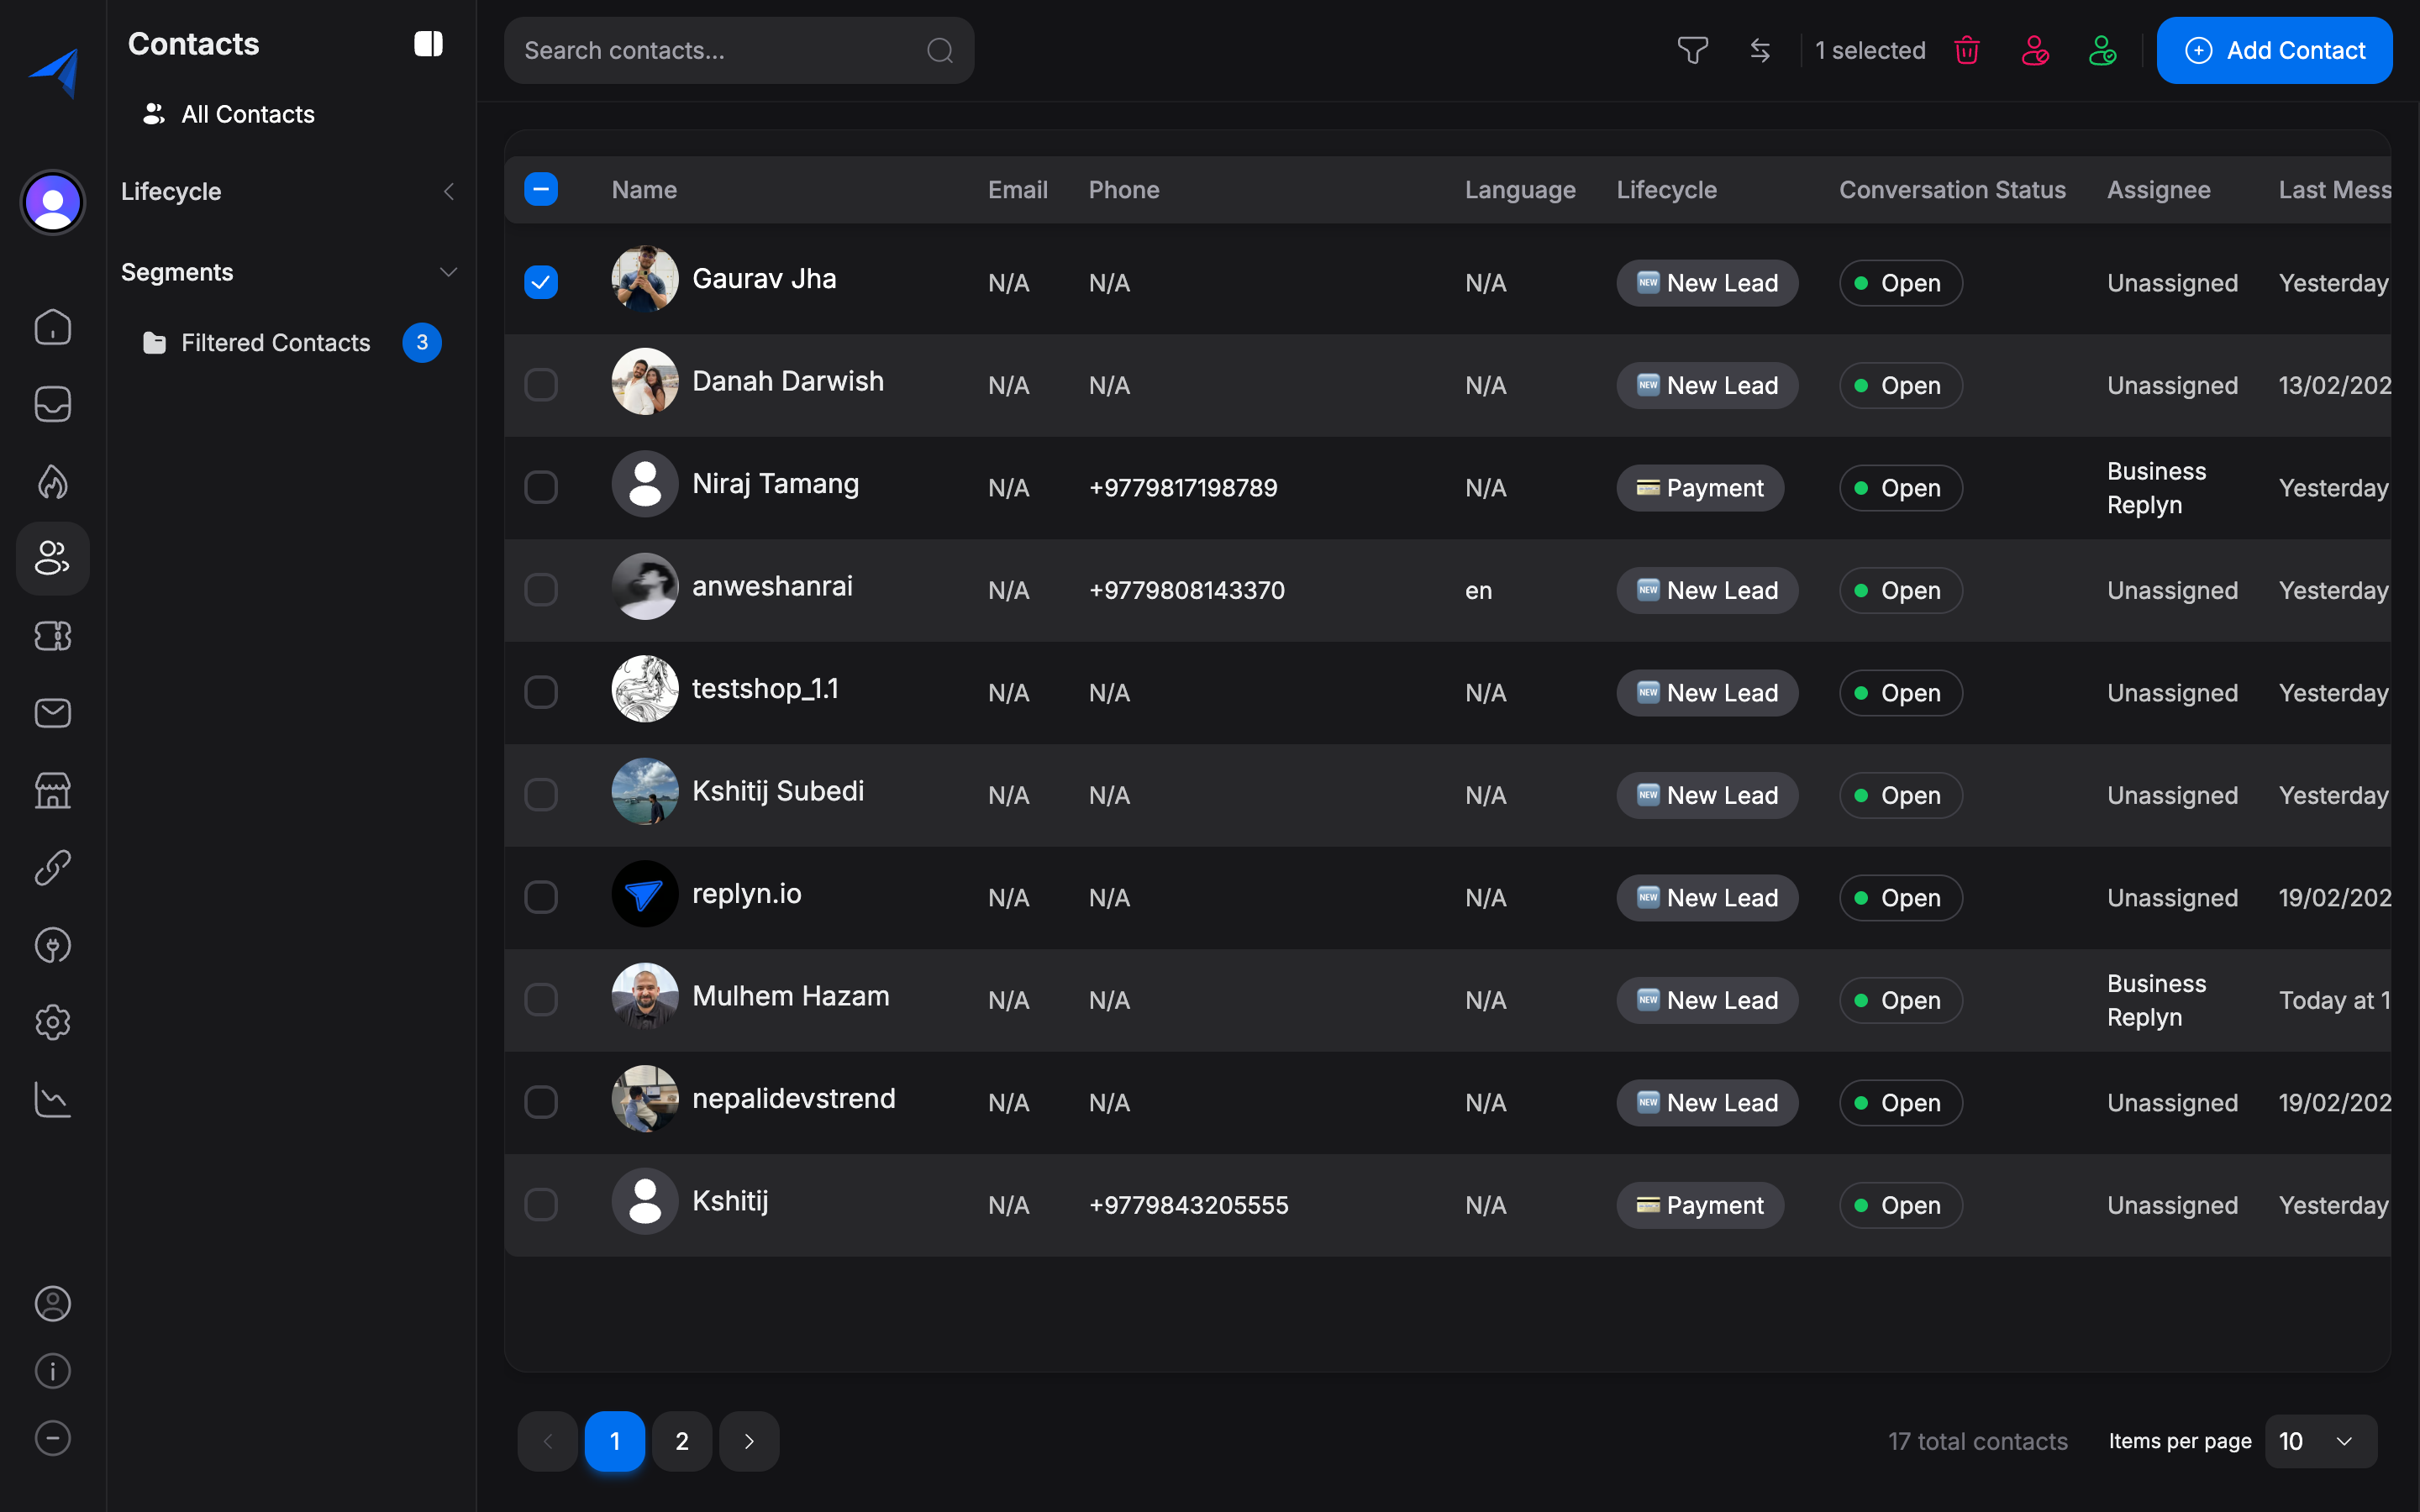
Select one or more contacts using the checkboxes, then use the Change Lifecycle Stage bulk action to move them all to a new stage at once.
Navigate to Leads > Lifecycle Board and drag a contact card from one column to another to change their stage. See Lifecycle Board for details.
Automatic Stage Transitions
Replyn can automatically move contacts between stages based on certain events:
- New incoming message — When a person messages you for the first time, they are automatically created as a Lead.
- Order placed — When a contact places an order through your ecommerce integration, they can be automatically moved to Customer.
- Appointment booked — When a contact books a clinic appointment, they can be automatically moved to Customer.
- Inactivity — Contacts who have not been active for a configurable period can be automatically moved to Lost.
Automatic transitions can be enabled or disabled individually in Settings > Contacts > Lifecycle. You can also configure the inactivity threshold and choose which events trigger a stage change.
Customizing Lifecycle Stages
The default stages (Lead, Customer, Lost) work well for most businesses, but you can customize them to match your specific workflow.
Go to Settings > Contacts > Lifecycle in the left sidebar.
From here you can:
- Add new stages — Create additional stages like "Qualified Lead", "Negotiation", or "Onboarding".
- Rename stages — Change the names of existing stages to fit your terminology.
- Reorder stages — Drag stages to change the order they appear in the pipeline.
- Set a default stage — Choose which stage new contacts are assigned to automatically.
Click Save to apply your changes. All existing contacts will retain their current stage; only new contacts and future transitions will use the updated configuration.
Deleting a lifecycle stage will move all contacts currently in that stage to the default stage. Make sure to reassign contacts before removing a stage if you want them placed in a specific alternative stage.