Managing Contacts
Search, filter, edit, and perform bulk operations on your contacts in Replyn.
The Contacts page is your central hub for viewing and managing every contact in your Replyn workspace. This guide covers how to find contacts, update their information, and work with multiple contacts at once.
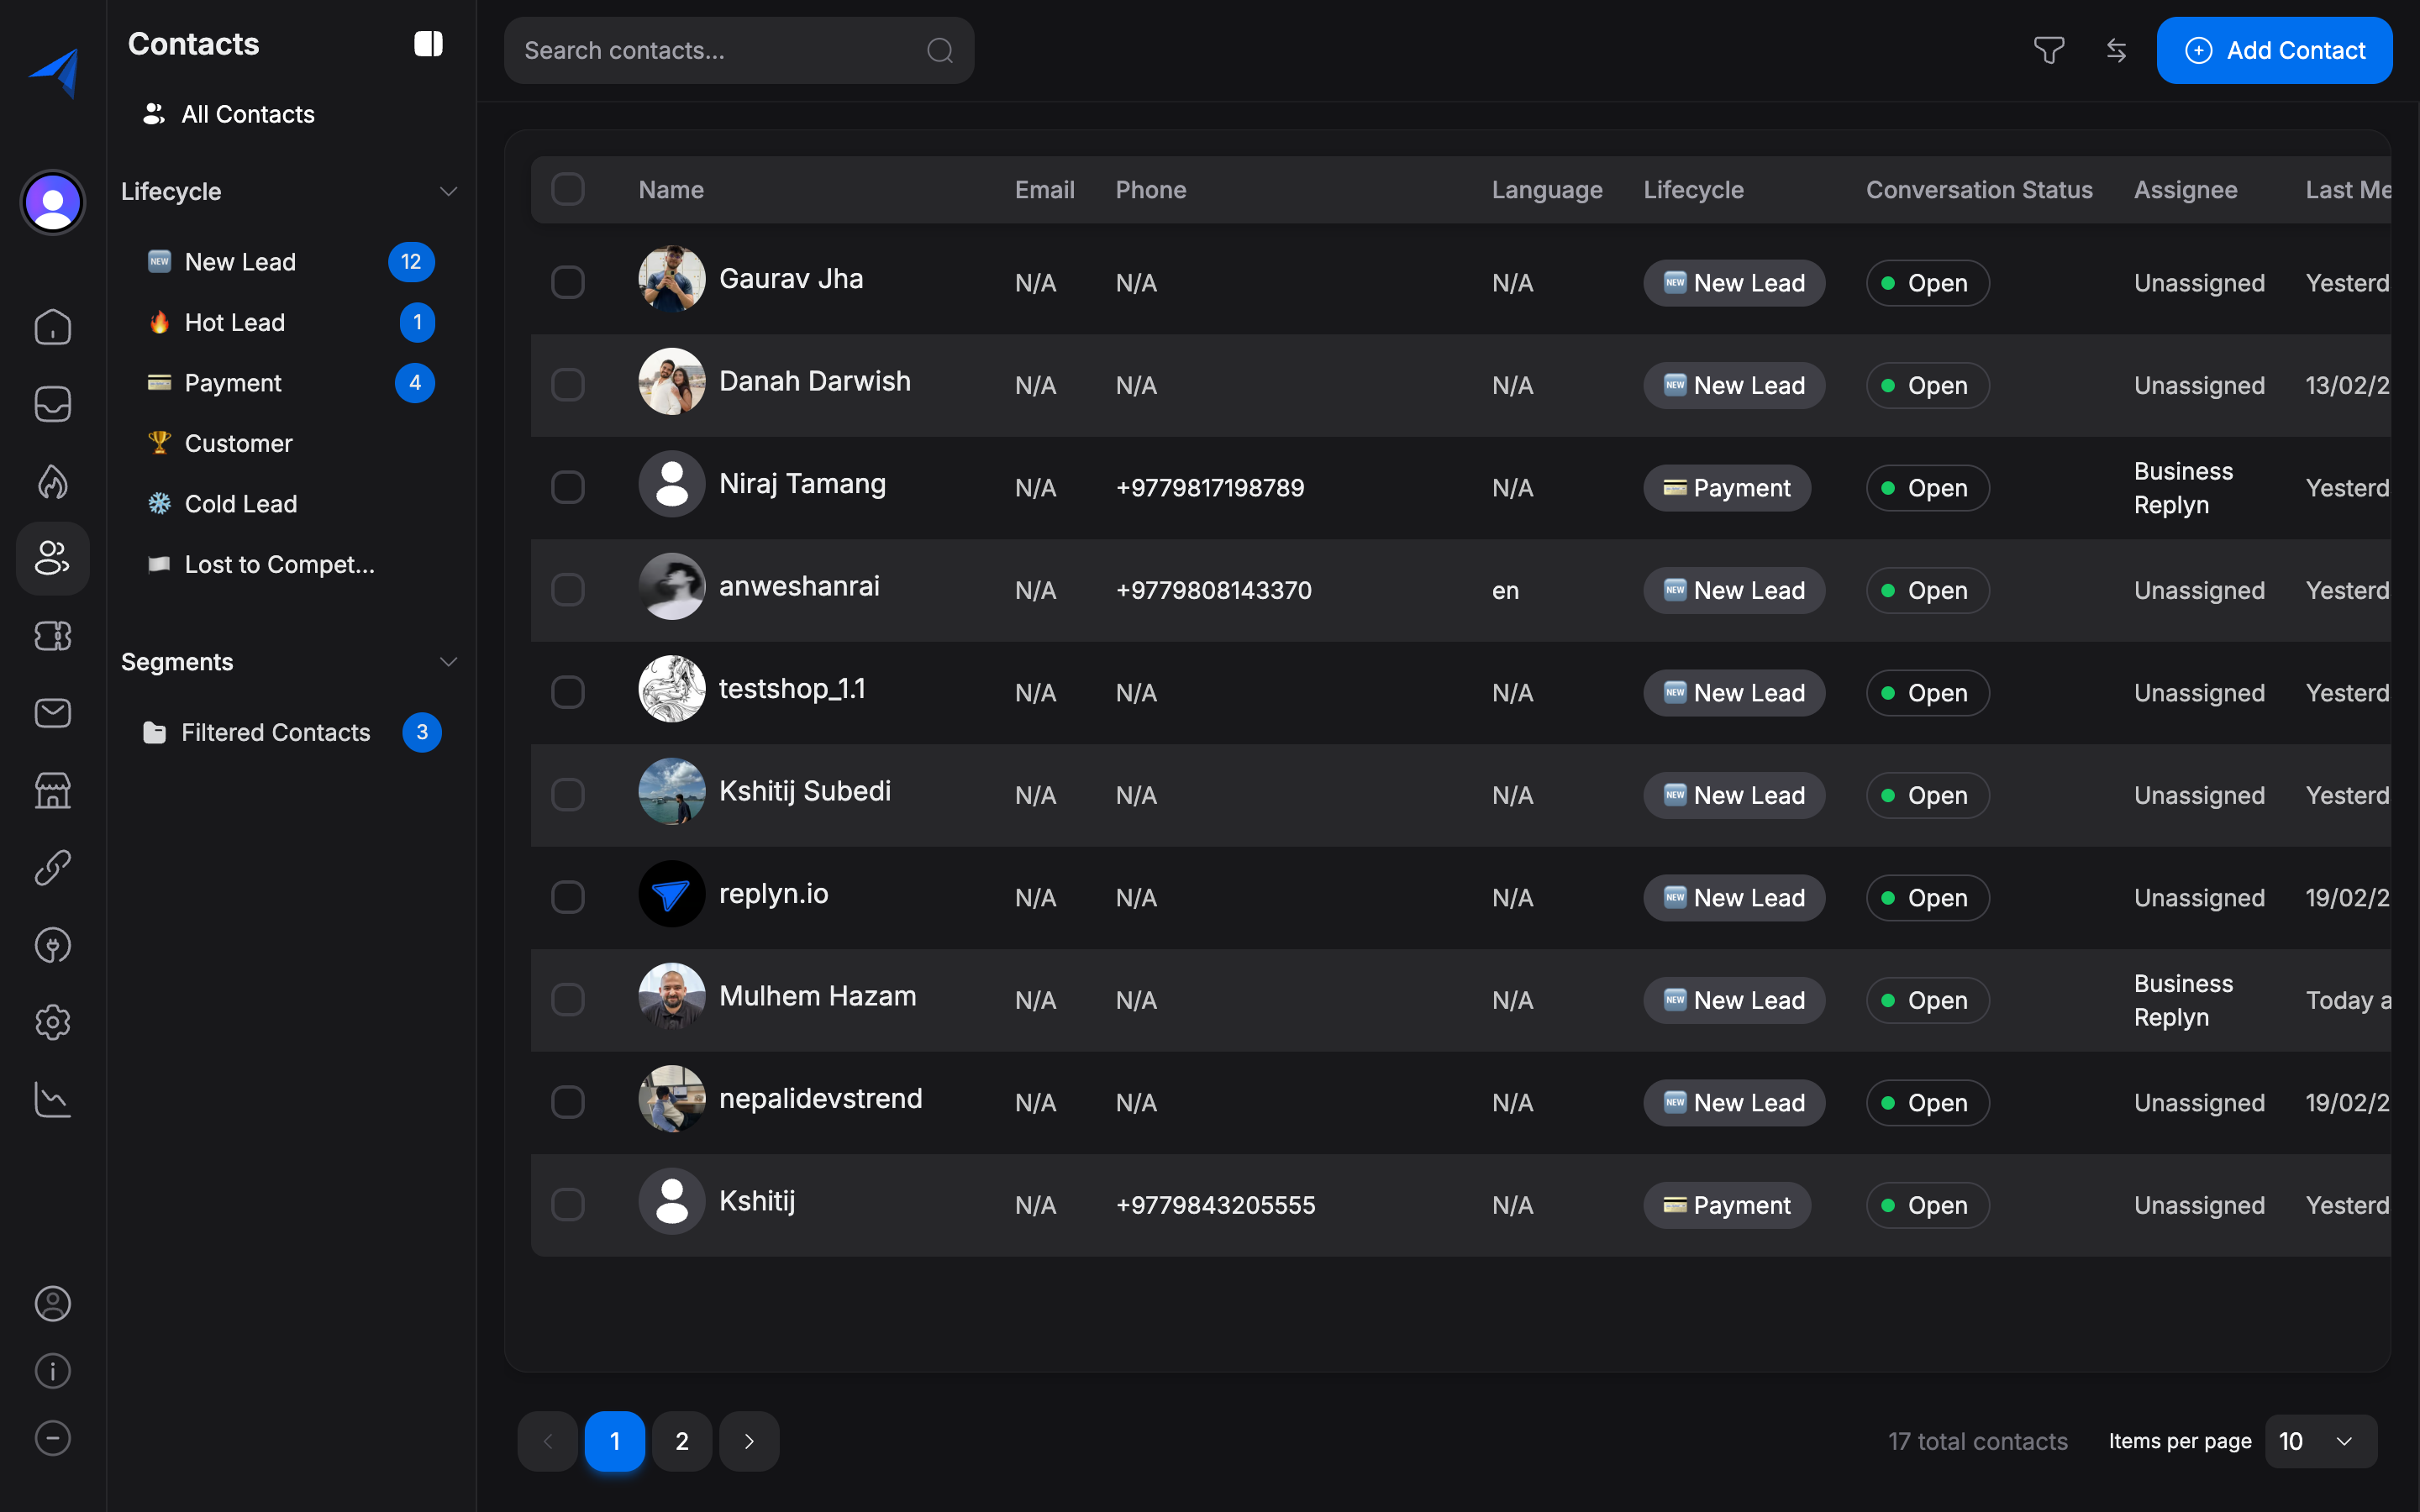
Viewing the Contact List
The contact list displays all contacts in a sortable, searchable table.

Searching Contacts
Use the search bar at the top of the contact list to find contacts by name, phone number, or email. Results update in real time as you type.
Filtering Contacts
Click the Filter button to narrow down the list using one or more criteria:
- Tags — Show only contacts with specific tags.
- Lifecycle stage — Filter by Lead, Customer, Lost, or any custom stage.
- Channel — Show contacts from a specific channel (WhatsApp, Instagram, etc.).
- Date range — Filter by when the contact was created or last active.
- Custom fields — Filter on any custom fields you have configured.
Editing Contact Details
Click on a contact's name in the list to open their contact detail panel.
In the detail panel, you can view and edit:
- Name — First and last name.
- Phone number — The primary phone number (used for WhatsApp and SMS).
- Email — Used for email communications and as a deduplication key.
- Lifecycle stage — The current stage (Lead, Customer, Lost, etc.).
- Tags — Add or remove tags.
- Custom fields — Any additional fields your workspace has configured (e.g., company name, address, date of birth).
Make your changes and click Save. Updates take effect immediately.
Deleting Contacts
Click the more options menu (three dots) in the top-right corner of the detail panel and select Delete Contact.
Confirm the deletion in the dialog. This action is permanent and will remove the contact along with their conversation history.
Deleting a contact is irreversible. All conversation history, notes, and associated records for that contact will be permanently removed. Consider archiving or changing the lifecycle stage to Lost instead if you may need the data later.
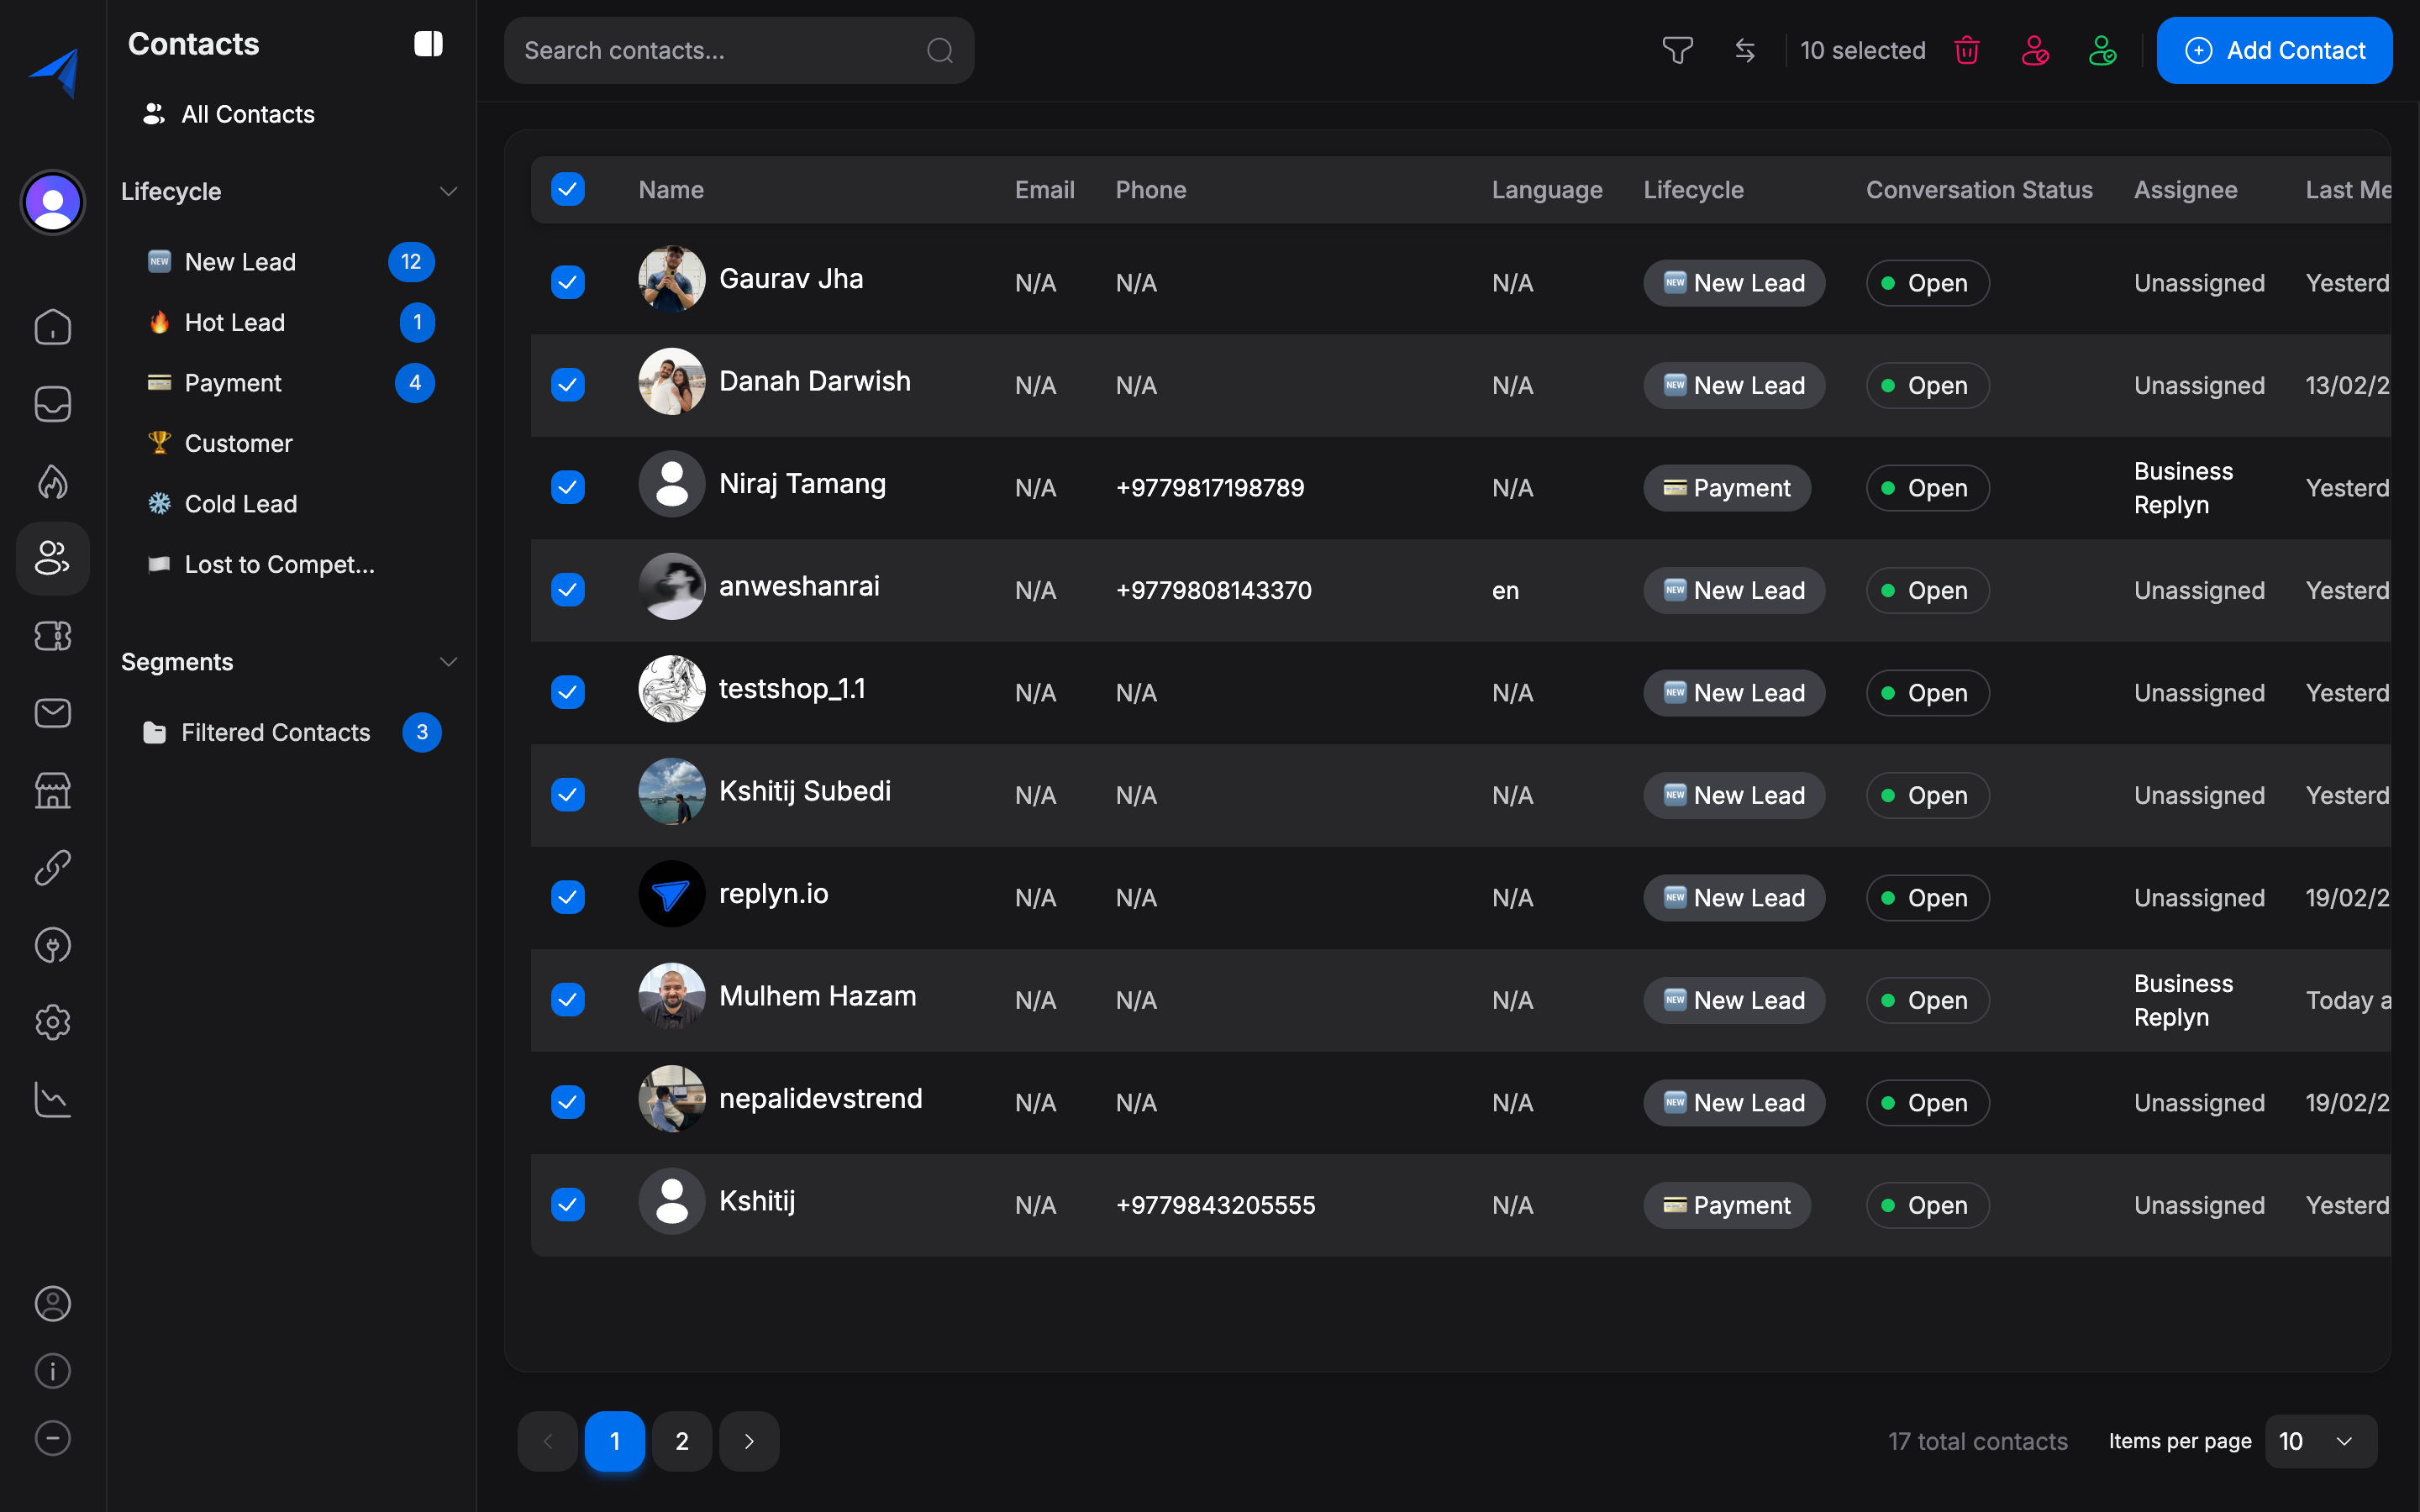
Bulk Operations
You can perform actions on multiple contacts at once to save time.
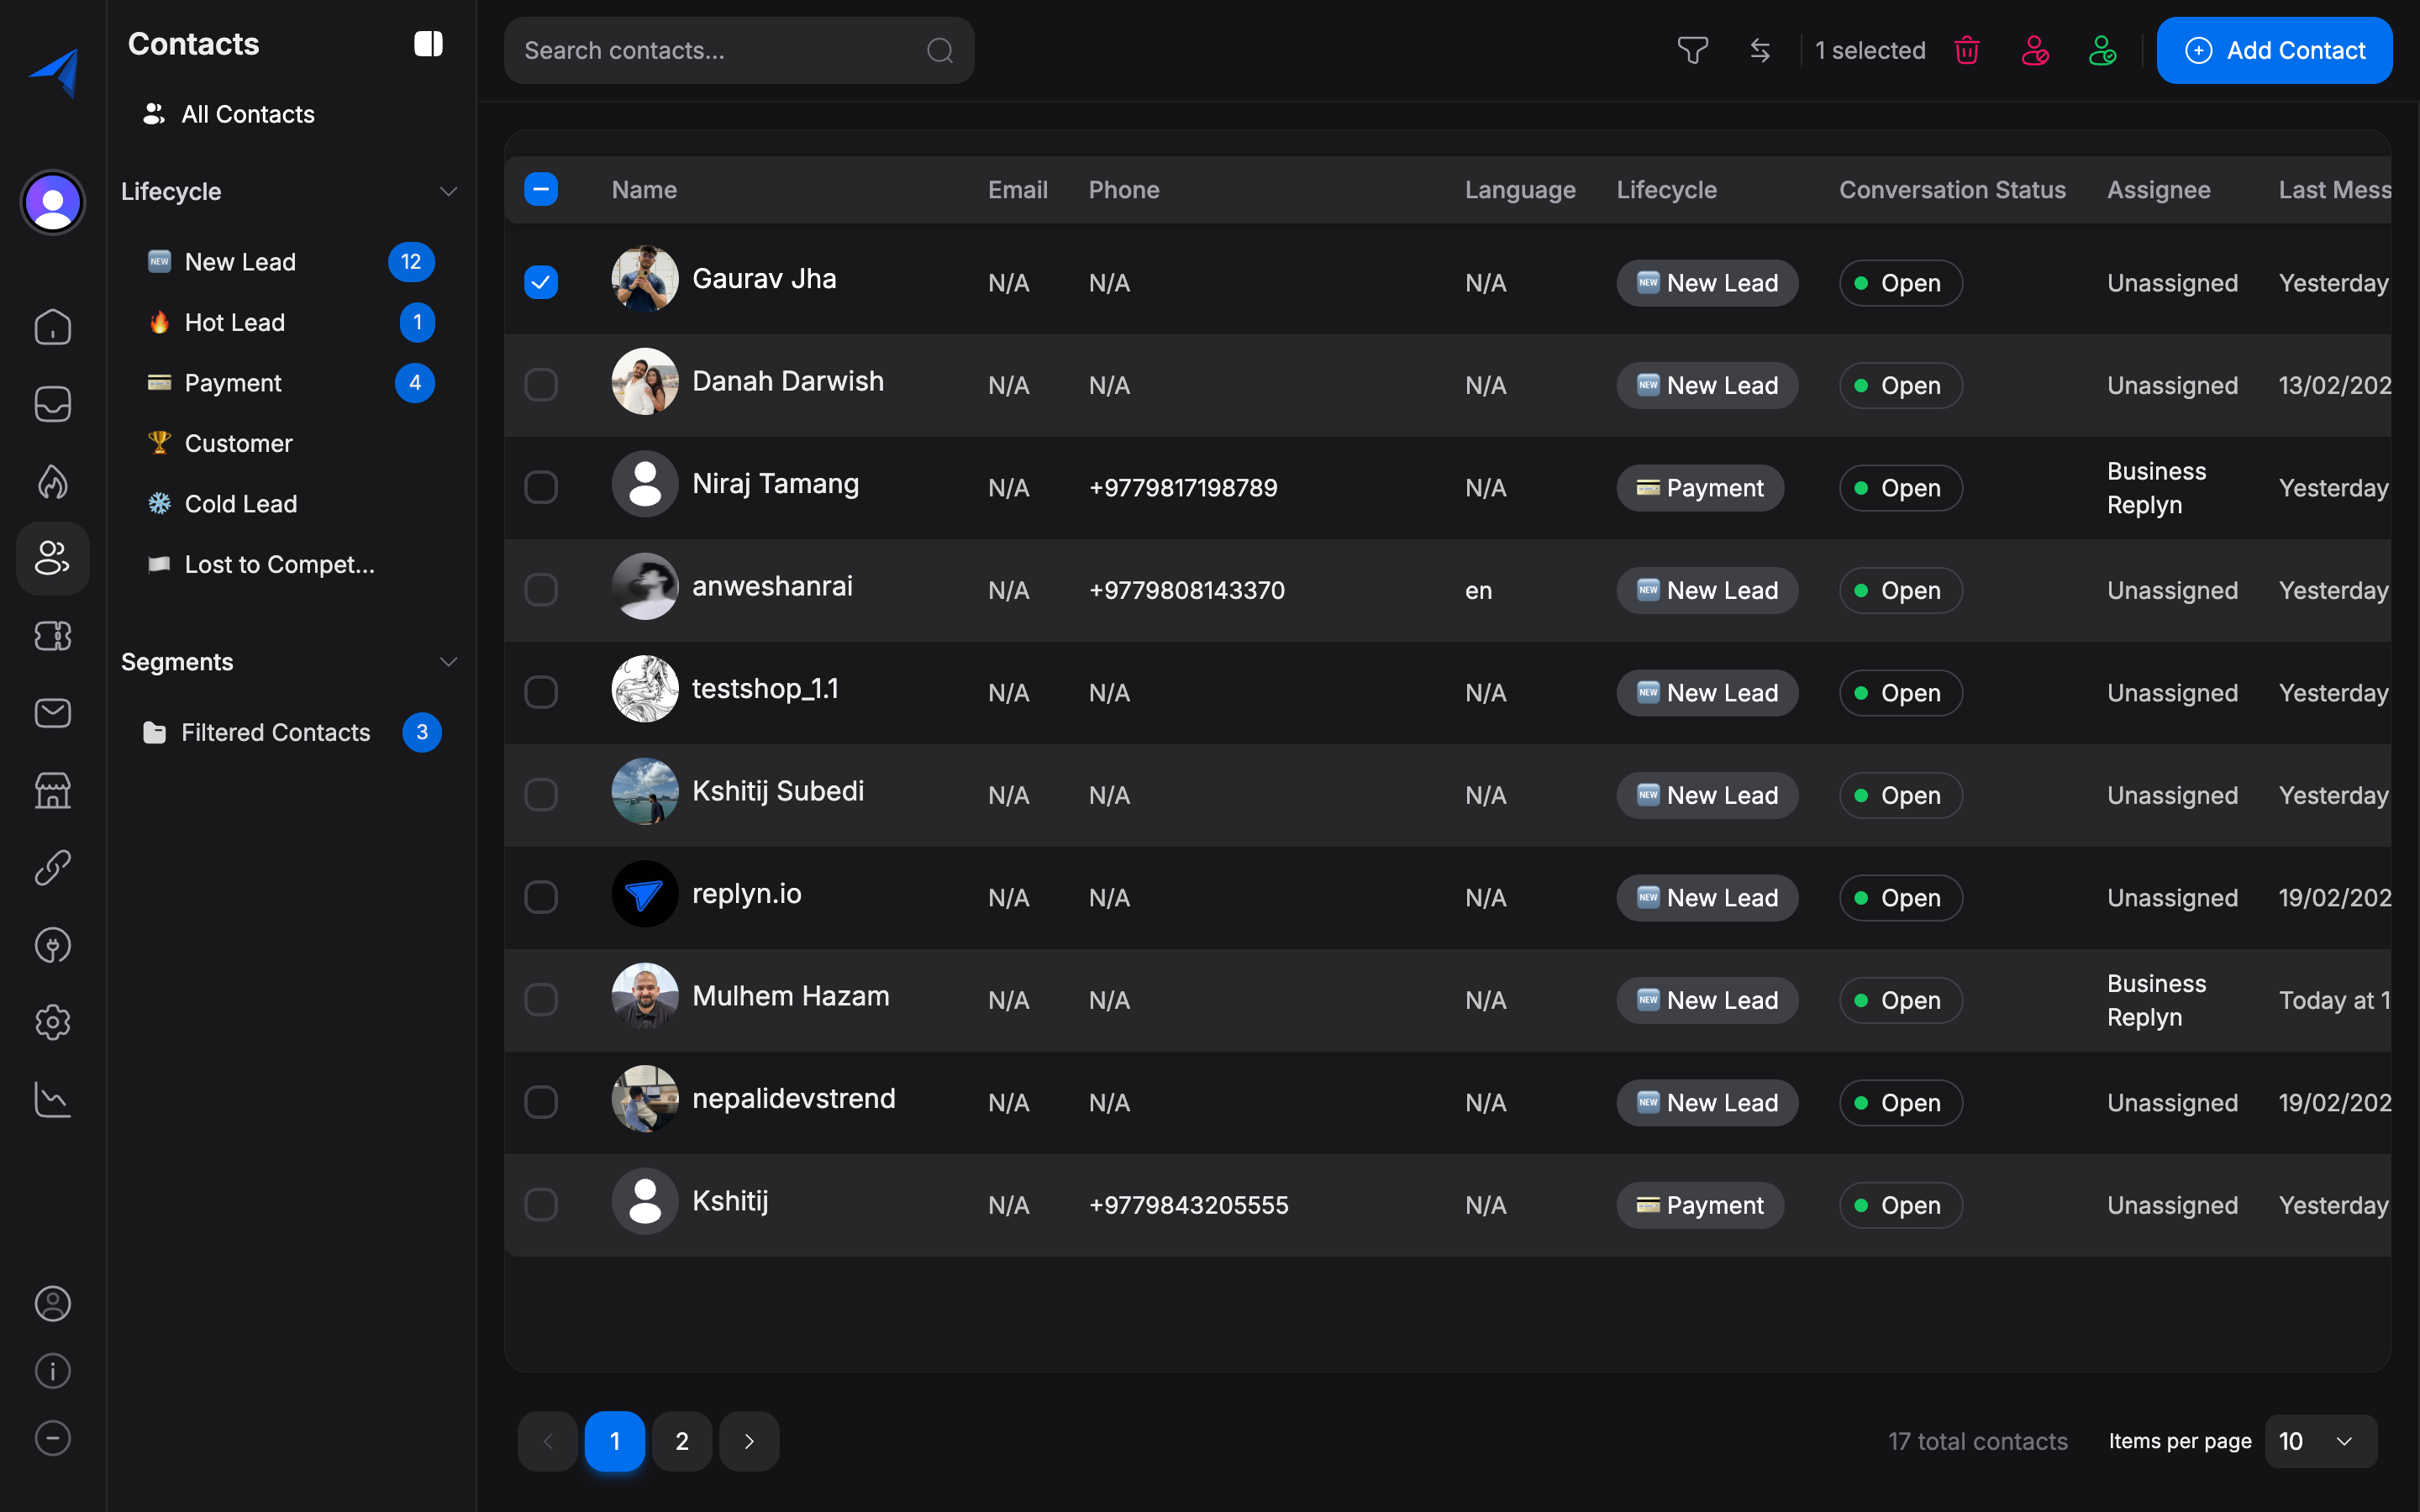
In the contact list, use the checkboxes on the left side to select the contacts you want to act on. You can also use the Select All checkbox at the top to select all contacts on the current page, or click Select All Matching to select all contacts that match your current filters.
Once contacts are selected, a bulk action bar appears at the top of the list. The available actions are:
- Bulk Tag — Add one or more tags to all selected contacts.
- Bulk Delete — Permanently delete all selected contacts.
- Change Lifecycle Stage — Move all selected contacts to a different stage.
- Export — Download the selected contacts as a CSV file.
Choose the action you want to perform and confirm when prompted. Bulk operations run in the background, and you will be notified when they complete.